Here's where many simulator builds go wrong: someone orders a highly-rated home theater projector and then discovers it needs 14 feet of throw distance to fill their screen—and they only have 8 feet available.
Or they buy a cheap projector with 2,000 lumens and wonder why their image looks washed out even with the lights off.
Golf simulator projectors have specific requirements that differ from home theater projectors. Understanding these requirements before you buy will save you from expensive mistakes.
Why Simulators Need Special Projectors
A home theater projector assumes:
- Complete darkness (blackout room)
- Viewer sits far from screen (standard throw distance works)
- 16:9 widescreen aspect ratio
- Image quality prioritized over brightness
A golf simulator projector needs:
- Decent performance in partial light (you're swinging a club, you need to see)
- Short throw distance (you're standing between the projector and screen)
- 4:3 aspect ratio (or ability to display 4:3)
- Brightness that holds up across a large screen
These aren't the same thing, and a projector optimized for one won't necessarily work for the other.
Key Specs Explained
Throw Ratio: The Most Critical Spec
What it is: The ratio of projector-to-screen distance divided by screen width.
The formula: Throw Ratio = Distance ÷ Screen Width
Example: If a projector has a 0.5 throw ratio and your screen is 10 feet wide:
- Required distance = 0.5 × 10 = 5 feet from the screen
If the same projector had a 1.0 throw ratio:
- Required distance = 1.0 × 10 = 10 feet from the screen
Why it matters for simulators:
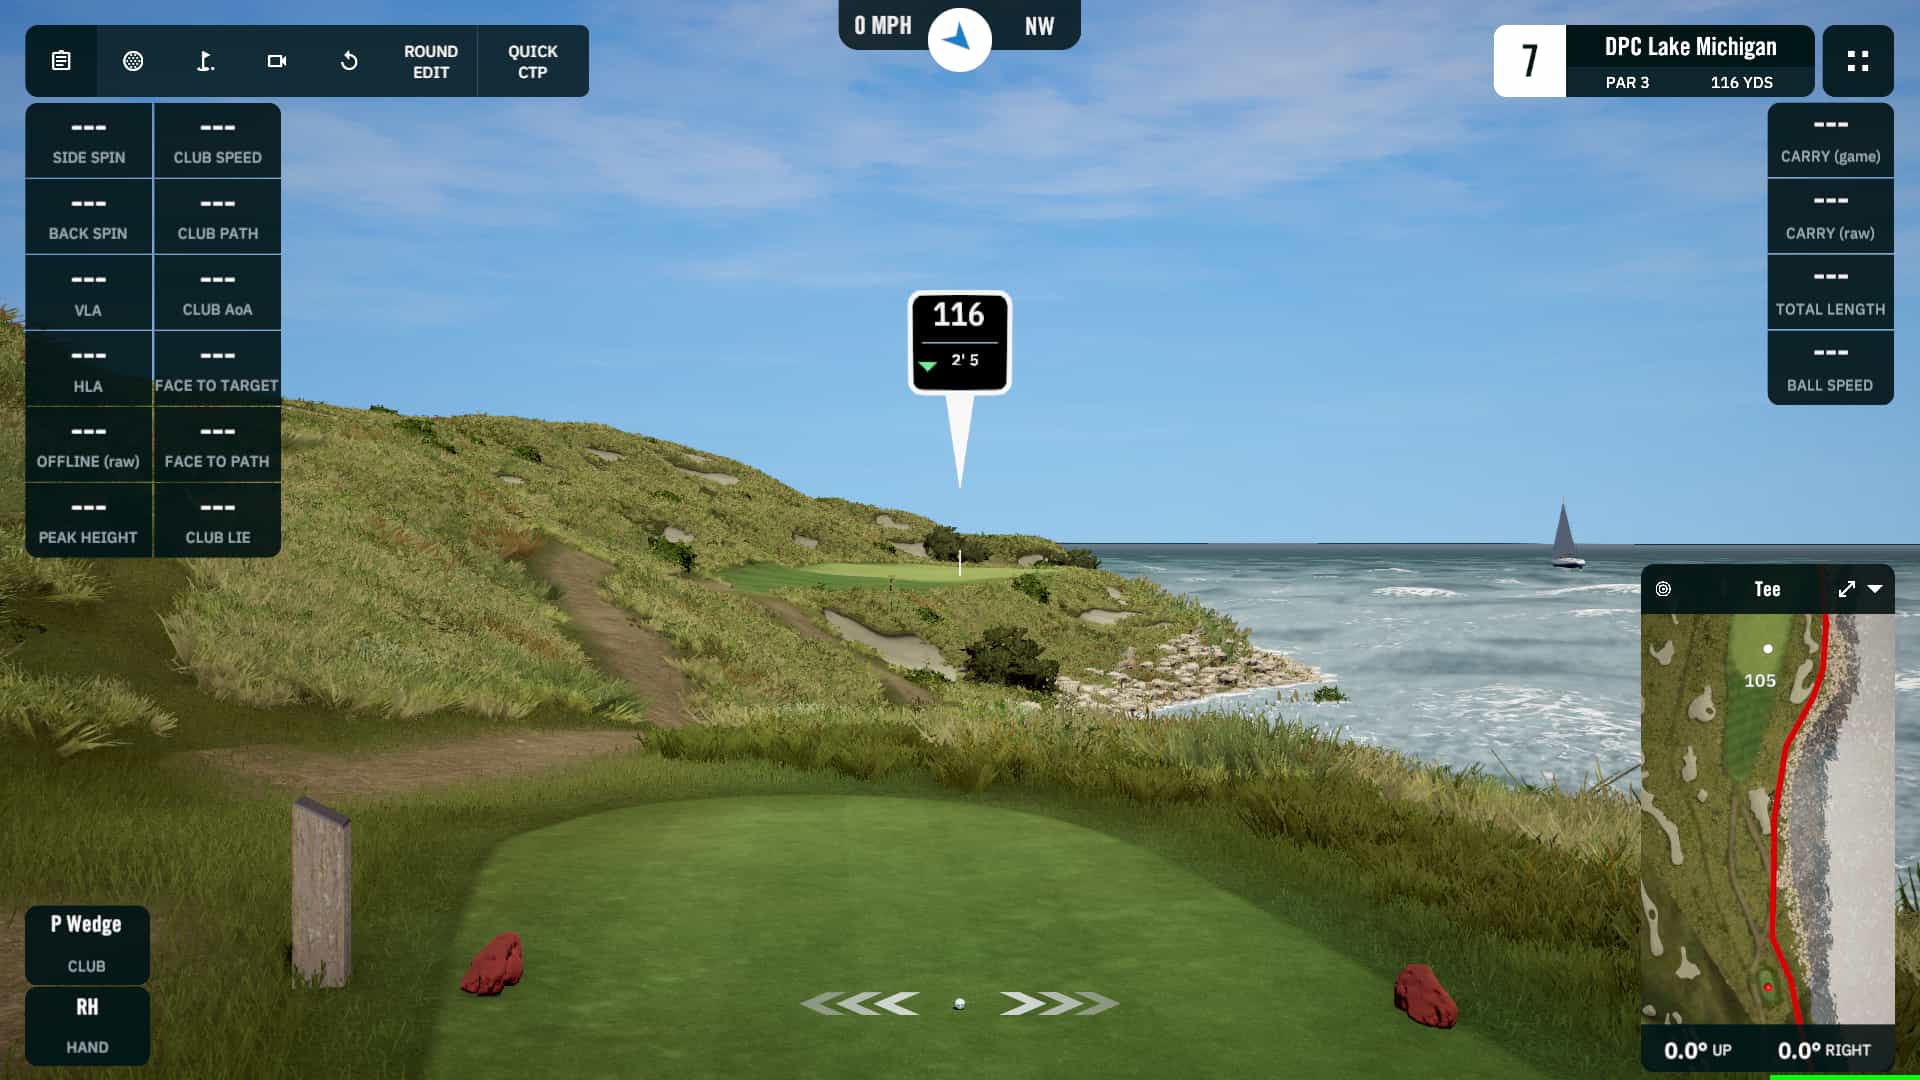
In a golf simulator, you're standing 10-12 feet from the screen. The projector typically mounts to the ceiling somewhere in that zone—either above you, slightly behind you, or between you and the screen.
If your projector needs 12+ feet to fill the screen, and you only have 12 feet of total depth, the projector would need to be at the very back wall—right where people would be standing behind you.
Throw ratio categories:
- Ultra-short throw (0.3-0.5): Can fill a large screen from just a few feet. Ideal for tight spaces.
- Short throw (0.5-0.8): The sweet spot for most simulators. Can fill common screen sizes from 6-8 feet.
- Standard throw (0.8-1.2): May work in larger spaces but often requires too much distance.
- Long throw (1.2+): Rarely suitable for home simulators.
For most simulators, target a throw ratio under 0.9. Ideally 0.5-0.8.
Lumens: Brightness That Fights Ambient Light
What it is: A measure of light output. Higher lumens = brighter image.
Why it matters:
Unlike a dark home theater, your simulator space probably has some ambient light—a window you can't fully cover, light from an adjacent room, or the simple need to see what you're doing while swinging.
A dim projector gets washed out by ambient light. The image looks gray and faded instead of vibrant.
Recommendations:
- 3,000 lumens: Minimum for most setups. Works in well-darkened rooms.
- 4,000 lumens: Better for larger screens or rooms with some ambient light.
- 5,000+ lumens: Handles challenging lighting conditions, larger screens, or commercial installations.
Pro tip: Always buy more lumens than you think you need. You can turn brightness down, but you can't add light output after purchase.
Resolution: How Sharp Is Sharp Enough?
What it is: The number of pixels in the projected image.
Common resolutions:
- 1080p (Full HD): 1920x1080 pixels. Plenty sharp for most home setups.
- 4K UHD: 3840x2160 pixels. Four times the detail of 1080p.
- WUXGA: 1920x1200 pixels. 16:10 aspect ratio, slightly more vertical pixels than 1080p.
Do you need 4K?
Honestly? For most home simulators, 1080p is fine. At typical viewing distances (10+ feet), the difference between 1080p and 4K is subtle.
4K shines when:
- You have a very large screen (12+ feet wide)
- You'll also use the projector for movies/entertainment
- You want absolutely the best visuals
- Your simulator software outputs 4K (many do now)
4K projectors cost more and require beefier computers to drive them. 1080p gives you great visuals at lower cost and hardware requirements.
Contrast Ratio: Less Important Than You Think
What it is: The ratio between the brightest white and darkest black the projector can produce.
Why it's less relevant for simulators:
Contrast ratio matters most when viewing in complete darkness—seeing deep blacks and subtle shadow detail. Golf simulators are rarely pitch black during use, and the content (bright golf courses) doesn't rely on deep blacks.
A 2,000:1 contrast ratio is plenty for simulator use. Don't pay a premium for extreme contrast ratios you won't benefit from.
Input Lag: Does It Matter?
What it is: The delay between when a signal reaches the projector and when it appears on screen, measured in milliseconds (ms).
For golf simulators: Input lag matters less than for gaming. You're not reacting in real-time to on-screen action—the ball flight is calculated from your real swing, then displayed.
That said, high input lag can make the experience feel sluggish. Aim for under 50ms; under 30ms is ideal.
Laser vs. Lamp: Longevity and Performance
Lamp-based projectors:
- Lower upfront cost
- Lamp life typically 3,000-5,000 hours
- Lamp replacement costs $100-$300
- Brightness degrades over time
- Needs warm-up time
Laser projectors:
- Higher upfront cost (usually $500-$1,500 more)
- Laser life typically 20,000-30,000 hours
- No lamp replacements
- Consistent brightness for years
- Instant on/off
For simulators, laser is worth it. You'll use this projector for years, potentially thousands of hours. Lamp replacements add up, and degrading brightness is annoying. The laser premium pays for itself in longevity and convenience.
Mounting and Positioning
The Shadow Problem
If the projector is behind you, it casts your shadow onto the screen during your swing.
Solutions:
Mount above the hitting area: Position the projector on the ceiling, roughly above where you stand. The projection angle is steep enough that your body doesn't block the light.
Very short throw from ceiling-front: Ultra-short-throw projectors mounted near the screen (projecting backward from above the screen) eliminate shadow issues entirely.
Offset mounting: Some projectors support lens shift, allowing off-center mounting while still projecting a centered image.
The ideal position for most setups is ceiling-mounted, approximately 4-6 feet behind the hitting position, using a short-throw projector. This keeps the projector out of the swing path and minimizes shadows.
Calculating Your Throw Distance
- Determine where you can mount the projector (ceiling location, accounting for joists, clearances, etc.)
- Measure the distance from that point to your screen
- Measure your screen width
- Calculate the required throw ratio: Distance ÷ Width = Required Throw Ratio
Example:
- Projector mount location: 8 feet from screen
- Screen width: 10 feet
- Required throw ratio: 8 ÷ 10 = 0.8
You need a projector with a throw ratio of 0.8 or less.
Online calculators: Most projector manufacturers offer throw calculators on their websites. Enter the screen size and it shows required distance, or vice versa.
Keystone and Lens Shift
If your projector can't be perfectly centered and level, you'll get a distorted (trapezoidal) image.
Keystone correction: Digital adjustment that reshapes the image to appear rectangular. Works but degrades image quality slightly.
Lens shift: Optical adjustment that moves the lens physically. No image quality loss. More expensive.
For simulators, lens shift is valuable. The ability to adjust without image degradation makes setup much easier and the result much cleaner.
Projector Enclosures/Protection
The projector sits in the zone where balls could travel. While rare, a shank or skulled shot could reach the projector.
Protection options:
Projector cage/box: An enclosure around the projector with a protective screen over the lens opening. Stops direct hits.
Strategic positioning: Mount outside the typical ball flight zone. If using ceiling baffles or enclosure netting, the projector may already be protected.
Warning: Projectors need ventilation. Any enclosure must allow airflow to prevent overheating.
Budget Tiers
Entry Level: $500-$1,200
Options: BenQ TH671ST ($750), Optoma GT1090HDR ($900), Optoma HD28HDR (~$700)
What you get:
- 1080p resolution
- 3,000-3,500 lumens
- Short throw (0.5-0.7 ratio on some models)
- Lamp-based (plan for eventual replacement)
Limitations:
- Lamp degradation over time
- Limited lens shift (if any)
- May not fill the largest screens
Best for: Budget builds, first-time simulator owners, or those who may upgrade later.
Mid-Range: $1,500-$3,000
Options: BenQ TK700STi ($1,500), BenQ TK710STi ($1,800), BenQ LW650 (~$2,000)
What you get:
- 4K resolution (TK700/710) or high-brightness 1080p
- 3,000-4,000 lumens
- Short throw ratios
- Better color accuracy
- More lens adjustment options
This is the sweet spot for most home simulators. You get excellent image quality, adequate brightness, and the features needed for easy setup.
Premium: $3,000-$6,000+
Options: BenQ LK936ST ($3,500), Optoma ZK608TST ($4,000), Epson L695SE (~$5,500)
What you get:
- 4K resolution
- 4,000-6,000 lumens
- Laser light source (20,000+ hour life)
- Excellent lens shift
- Ultra-short throw options
- Professional-grade build quality
Best for: Demanding installations, bright rooms, commercial use, or enthusiasts who want the best.
The BenQ LK936ST and Optoma ZK608TST are current favorites in the simulator community—laser 4K with short throw and serious brightness.
Matching Projector to Screen
Aspect Ratio Alignment
Most golf simulator screens are 4:3 ratio. Most projectors are native 16:9.
How to handle this:
Option 1: Use a 16:9 projector with 4:3 output settings. The projector displays a 4:3 image with black bars on the sides. This works fine—you just don't use the full width of the projector's resolution.
Option 2: Match throw calculations to the 4:3 image height. Since you're not using the full width, calculate throw distance based on the height you need, then determine the corresponding width.
Option 3: Find a native 4:3 projector. Rare in consumer models, more common in business projectors.
For most people, Option 1 is the path of least resistance. Configure your computer to output 4:3, and the projector handles it.
Brightness Matching
Larger screens require more brightness. A 3,000 lumen projector that looks great on a 10-foot screen may look dim on a 14-foot screen.
Rough guidelines:
- 10-foot wide screen: 3,000 lumens adequate
- 12-foot wide screen: 3,500-4,000 lumens recommended
- 14+ foot wide screen: 4,500+ lumens recommended
When in doubt, go brighter.
Common Projector Mistakes
Mistake 1: Buying a Home Theater Projector
That top-rated home theater projector with amazing contrast and 4K HDR might have a 1.2 throw ratio—completely wrong for your simulator.
Always check throw ratio first. Everything else is secondary if the projector can't fill your screen from your available distance.
Mistake 2: Underestimating Brightness
"I'll keep the room dark anyway."
Famous last words. You'll want some light to see what you're doing, find your ball, adjust your equipment. Friends will want drinks. Garages have windows.
Buy more lumens than you think you need.
Mistake 3: Forgetting Installation Complexity
A projector needs:
- A mounting point (ceiling mount, shelf, etc.)
- Power (often ceiling-accessible outlet)
- Video cable (HDMI from computer)
- Potentially: network connection, remote control access
Plan these runs before finalizing projector location. Running HDMI through finished ceilings is a pain.
Mistake 4: Not Testing Before Permanent Install
Before you permanently mount the projector:
- Temporarily position it where you plan to mount
- Project an image
- Verify image size fills your screen
- Check for shadows during swing
- Adjust until perfect
- THEN permanently mount
It's much easier to adjust a projector sitting on a ladder than to remount one bolted to the ceiling.
Mistake 5: Ignoring Sound
Projectors make fan noise. Cheap projectors make a lot of fan noise. Premium projectors run quieter.
In a simulator environment with impact noise and software audio, projector noise is usually drowned out. But if you're sensitive to it, check decibel ratings.
Setting Up Your Projector
Initial Configuration
- Mount securely on a stable ceiling mount or shelf
- Connect video (HDMI to your computer)
- Connect power
- Power on and access the menu
Adjust Settings
- Set output resolution to match your screen/computer
- Adjust aspect ratio (usually 4:3 for golf sims)
- Use lens shift (if available) to center the image
- Use keystone (if needed) to square the corners
- Set brightness/contrast appropriately
- Select the right picture mode (vivid/bright often best for simulators)
Calibration
For serious image quality:
- Use a calibration image (grids, color bars)
- Adjust focus across the entire image (some areas may be softer than others)
- Fine-tune color settings if needed
Most users don't need professional calibration—the out-of-box settings with basic adjustment are fine for golf.
Connect to Software
Your simulator software needs to output to the projector. This usually means:
- Extending or mirroring your computer display
- Configuring the software to use the projector display
- Setting proper resolution and refresh rate
Windows display settings and your simulator software settings both come into play.
My Recommendations
For most home simulators: BenQ TK700STi or TK710STi ($1,500-$1,800)
Short throw, 4K resolution, 3,000+ lumens, reasonable price. This is the default choice for a reason.
For larger screens or bright rooms: BenQ LK936ST ($3,500)
Laser, 5,100 lumens, 4K, short throw. This handles challenging conditions.
For ultra-tight spaces: Optoma ZK608TST (~$4,000)
One of the shortest throw ratios available, laser, 5,800+ lumens. If you need to project from very close, this does it.
Budget option: BenQ TH671ST or Optoma GT1090HDR ($700-$900)
Short throw, 1080p, adequate brightness. If funds are tight, these work. Plan to potentially upgrade in a few years.
What's Coming Next
You've got your launch monitor, mat, screen, and projector. Now you need something to hold it all together—literally. In Article 7, we'll cover enclosures: complete kits versus DIY builds, EMT pipe construction, and how to create a safe, professional-looking simulator space.
Next up: Building Your Enclosure: Complete Kits vs. DIY
Questions about projector selection or installation? Drop them in the comments.
Sign in to leave a comment
No comments yet. Be the first to comment!